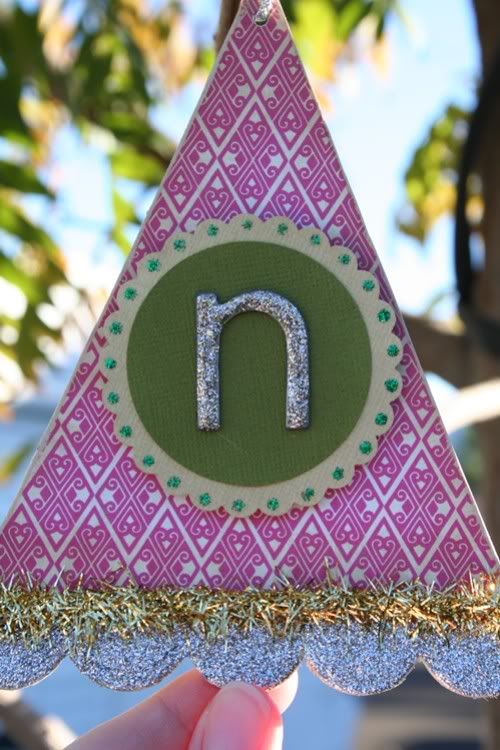
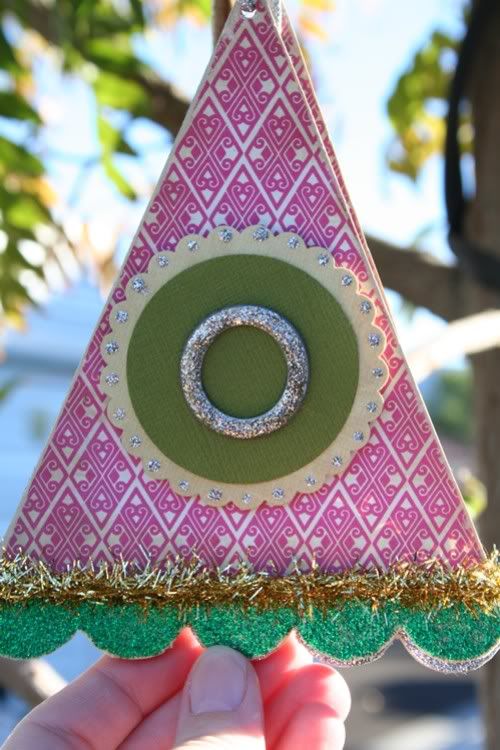
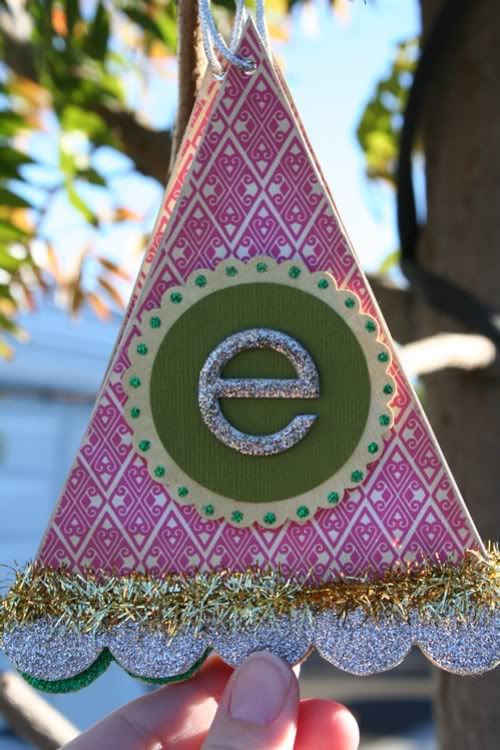
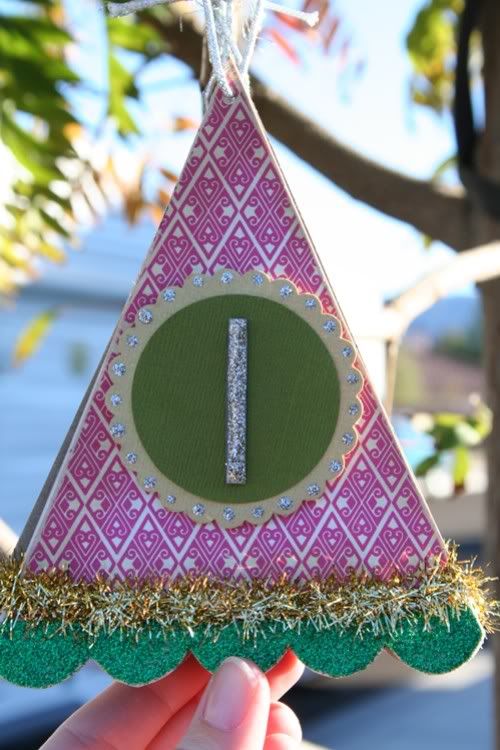
How to instructions on the NOEL Banner
You need:
Jenni Bowlin chipboard banner (large or small)
Pink Paislee Tinsel Town papers (Or any other holiday line)
Bazzill cardstock (used circle and scalloped circle punches)
Plain chipboard letters inked and covered in glitter (I used Pink Paislee Pixie Stix)
Fancy ribbon
I flipped the chipboard banner pieces so they looked more like trees for the holiday. Cover the banner with your patterned paper. I used the new Pink Paislee line, Tinsel Town, but you can use any holiday paper. I only covered the banner with patterned paper to the top of the scallops. Then I covered the scalloped portion with cream cardstock. Coat the cream cardstock with liquid adhesive (I used Glossy Accents). Pour loose Glitter (I used Pink Paislee Pixie Stix) over the wet glue and allow to dry. You can also use Stickles, but you have to wait a lot longer for it to dry. And you may need to use a different color cardstock as a base since the glue is clear. Or you can do two coats of Stickles - your choice.
I used my 2.5 scalloped circle punch and my 2 inch circle punch to make the base for the letter. Pop dot that on top of the patterned paper. For the letters, I used plain chipboard letters. Inked them and coated in Pixie Stix glitter again. You can use stickles or just leave them inked. Because Christmas always means glittery to me, I used a lot of glitter. I used Stickles to accent the scallops too.
You can also use regular letters like American Crafts Thickers in the color of your choice. I like to dress up plain chip letters.
Use your Crop o Dile or other hole punch to punch a hole in the top of the banner. Something that will cut through a piece of chipboard. I find my Crop O Dile works best.
You can either loop ribbon through each banner piece or string them like a banner. Because I'll be hanging these in a specific place, I made individual loops.
The lighting was awesome outside today but it was windy. So forgive my chubby finger in the pictures.

